§ 46 - Using iToolBox with SSTV
§ 46.1 - Processing Received Images
iToolBox is very useful when processing images received using AFSK (such as shortwave or satellite WEFAX images, or 20m SSTV on 14.230 MHz in image QSOs) or FM (such as 2m SSTV on 145.800 MHz as broadcast from the ISS.)
While image processing in general is of course useful in this specific undertaking, a number of iToolBox operations have been implemented specifically with SSTV images in mind:
The RIP operator removes single pixel noise bursts where it can identify them. Almost any image other than the most pristinely received will benefit from some degree of application, often using the entire image area tool.
The RIS operator removes horizontal streaks; this is very tricky, and is best applied only to areas of the image that only contain streaks that are damage, because streaks that are naturally part of the image, such as single line outlines of letters, are also likely to be removed if they are included in the area selection(s.)


The Chroma Noise Reduction operator can do wonders with a noisy Robot™ mode image.

The Monofix operator can take a black and white image that was sent in a color SSTV mode and using the natural redundancy across the RGB data in a monochrome image, often reduce or remove noise that would otherwise be impossible to take out easily.
The Vertical Remove operator is useful for small edits when zoomed in on a received image. This takes a little practice, but once you get the hang of it, you'll wonder how you ever did without it. It works well with SSTV because the image's lines are sent sequentially in time, so using the information above and below the interference can reconstruct a likely set of pixels.

Noise reduction with the Median operator can address speckle problems. The Median operator looks at the region surrounding the pixel being examined, sorts all the pixel values for the region by their luminance, then compares the middle value of the sort against the pixel being examined. If the pixel's luminance is above the distance set by the Median operator's Thresh ![]() slider, then the pixel is replaced with the middle value from the sort. Here's an example:
slider, then the pixel is replaced with the middle value from the sort. Here's an example:
One of the problems with many SSTV transmissions is that the operators send the images with incorrect aspect ratios, so that images look crushed or stretched. You can quickly correct these kinds of distortions using a three-step process: First, use shift+opt/alt+y repeatedly until the aspect ratio looks correct. Second, use shift+c to clone the image at its new size and aspect. Then, use s to save the corrected result over, or along with, the original.
There are times when image information is corrupted by carriers, resulting in wavering detection of brightness levels. In such cases, the notch filter may be able to help by reducing the intensity of a particular frequency, or range of frequencies, in the image data.
§ 46.2 - Preparing Images for Transmission
The Frame operator is useful to establish edge boundaries for either artistic reasons or simply for emphasis.

Using the Text dialog along with the Place and/or Merge operators is a quick and easy way to generate text for your images. Just generate the text at an appropriate font size, use your chosen means to incorporate it into your image, and Robert's one of your parent's brother.
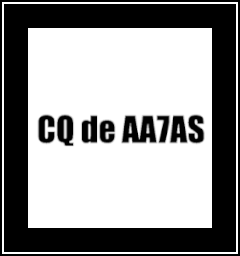
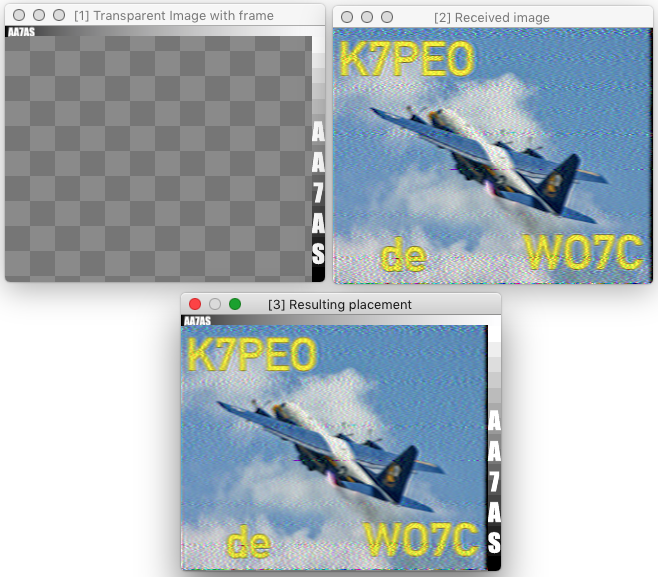
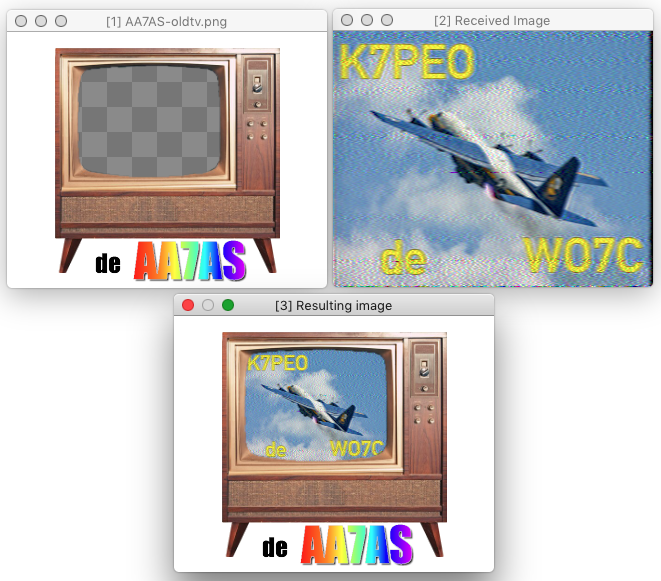
The Place operator, operating in ✓ Under Alpha mode, is also useful to insert a received image inside a prepared response image. This mode examines the action image for transparency, scales the origin image to the size of the detect area, and then inserts it there. So you can create a transparent frame, bring in a received image, set it as the origin image, and using entire image, just one click and the received image will be automatically placed within the transparent region.
If you check ✓ Drops become origin image in the Preferences dialog, an image dragged into iToolBox immediately becomes the origin image, so composing it into a prepared image is simply a matter of drag, then click. You can then use Edit/Copy to get it quickly back into your SSTV transmit software, and use u (undo) or Edit/Undo to restore the frame image to its un-merged condition.
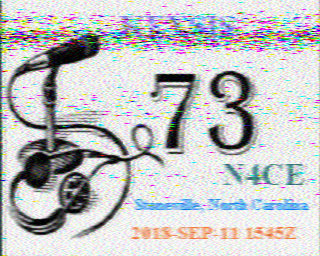
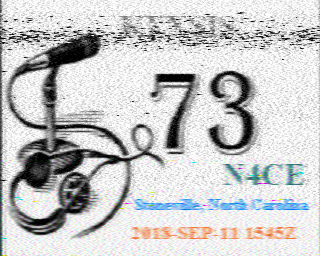
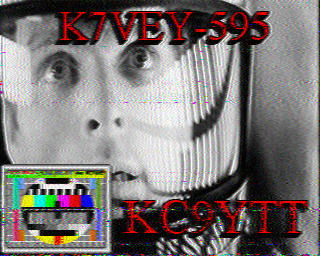
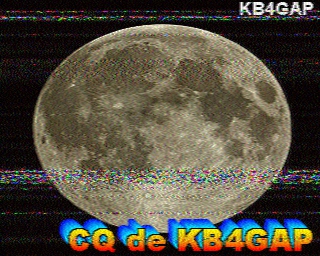
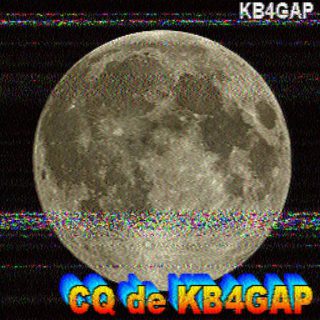
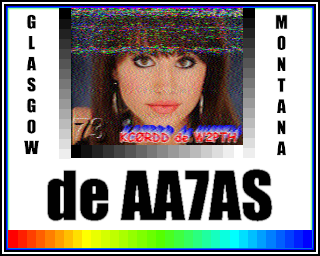
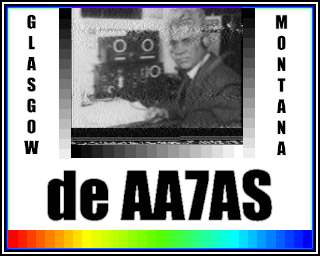
Here a couple of examples:
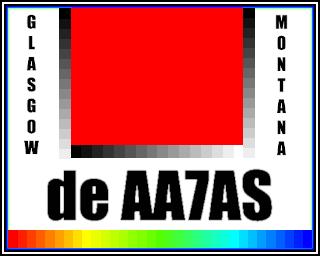
The Rangefill operator was specifically tailored to be able to generate color bars and beautiful color sequenced images. Try it; you'll like it. 
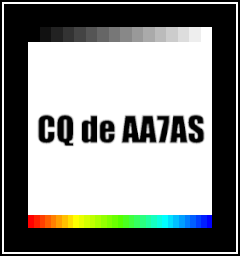
Put it all together, and...
, Previous Page . Next Page
t TOC i Index k Keyboard o Operators g Glossary c Changes
![]()
on February 27th, 2026 at 17:38 MT
| Please consider supporting my iToolBox development efforts with a small PayPal donation. |