§ 12.11.34 - Frame
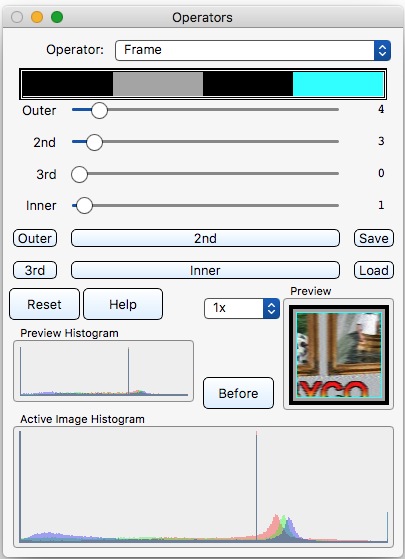
Scripting command: frame [Outer=0...50] [2nd=0...50] [3rd=0...50] [Inner=0...50]
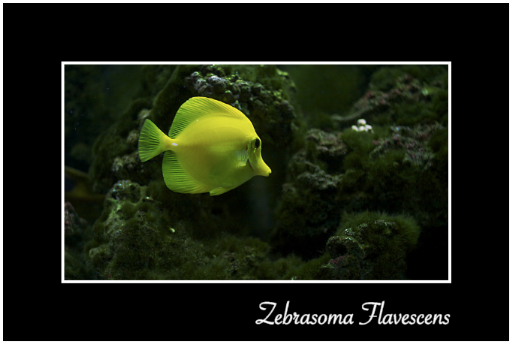
This operator allows you to create a rectangular frame beginning at the edges of your image. The sliders individually set the width of one of four frame elements in percentages of the narrower dimension of the image. So if the image is 200x400, then a slider set to 1 will produce an element which is 1% of 200 pixels thick — 2 pixels.
The Outer 2nd 3rd and Inner buttons open the color selection dialog for the four frame elements; the colors are displayed at the top of the operator dialog, with Outer at the left, then 2nd, 3rd, and Inner.
Since any frame element can be as wide as 50% of the narrower dimension of the image, it is possible for any element to completely take up the image. So some sets of settings can't actually work. In order to make the operator somewhat (hopefully) intuitive, the outer elements have priority over the inner elements. If there isn't enough room for an inner element, it will either be trimmed to fit, or it won't show at all if there is no room left.
Frame elements that are set to 0 will not generate any content.
You can use Save and Load to archive and restore frame settings.
, Previous Page . Next Page
t TOC i Index k Keyboard o Operators g Glossary c Changes
| Please consider supporting my iToolBox development efforts with a small PayPal donation. |

