§ 12.11.21 - Crop
Scripting command: crop [ToEdgeAlpha=0...1] [AlphaLevel=0...255] [Reflect=0...3]
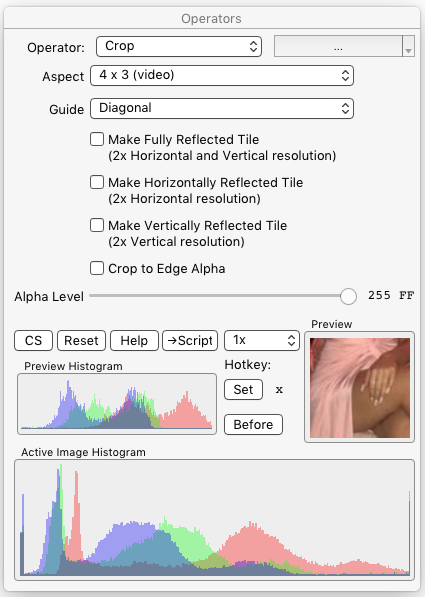
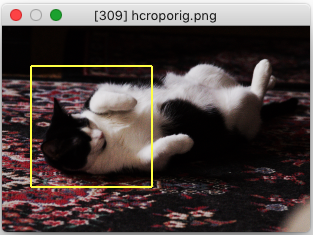
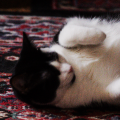
Cropping is simple: select an area, you get a new image containing that area.
Try out the various guide and aspect settings. They are there to help you make better crops. They can also be set to be on, or off, whenever you make a rectangle or ellipse (oval) area selection. See the Preferences dialog for the relevant settings.
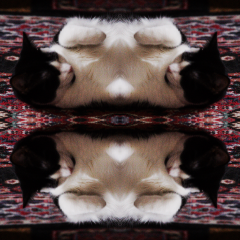
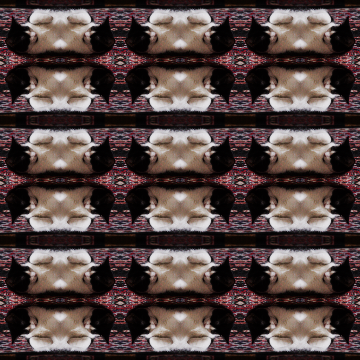
If you check ✓ Make Fully Reflected Tile the resulting crop will be a double-width, double-height image containing content suitably mirrored three ways to perform as a tile fill (tile fills are typically performed with Merge operator.)
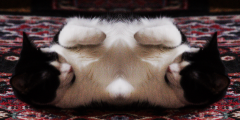
If you check ✓ Make Horizontally Reflected Tile the resulting crop will be a double-width image containing content left-right mirrored.
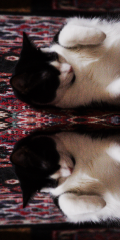
If you check ✓ Make Vertically Reflected Tile the resulting crop will be a double-height image containing content top-bottom mirrored.
If you check ✓ Crop to Edge Alpha then the operator will create a crop that removes image edges that are transparent, or partially transparent. The degree of transparency is set with Alpha Level ![]() . When used in this fashion, the crop operator creates its own area selection, hence the guides and aspect options are disabled. Typically you'd think of this as an automated version of the rectangle area tool.
. When used in this fashion, the crop operator creates its own area selection, hence the guides and aspect options are disabled. Typically you'd think of this as an automated version of the rectangle area tool.
The effect of the Alpha Level ![]() slider is that any edge of the image that is less transparent is cropped away, and anything equal to or above that level is carried along as the crop result, retaining that level of transparency. For a fully opaque crop, set Alpha Level
slider is that any edge of the image that is less transparent is cropped away, and anything equal to or above that level is carried along as the crop result, retaining that level of transparency. For a fully opaque crop, set Alpha Level ![]() to 255.
to 255.
(256*level)+level
If an image has EXIF information associated with it, the newly cropped image will also have that same EXIF information. You can check ✓ EXIF in the Preferences dialog if you want EXIF information saved with JPEG files.
, Previous Page . Next Page
t TOC i Index k Keyboard o Operators g Glossary c Changes
| Please consider supporting my iToolBox development efforts with a small PayPal donation. |
