§ 19.6.8.2 - Median Stack
The median values for all the pixels in all the adjacent layers in this mode are computed and promoted into the master image to sub-pixel accuracy.
This layer mode obeys the center operator to facilitate layer rotation, and the layer offset (translation) can also be adjusted using ←, →, ↑, ↓ and home, optionally in combination with control, opt/alt and shift for variations as follows:
- home = X and Y offsets set to zero (layer aligns to upper left)
- shift+home = layer aligns to upper right
- control+home = layer aligns to lower left
- shift+control+home = layer aligns to lower right
- opt/alt+home = layer aligns to center
- opt/alt+←, →, ↑, or ↓ = layer shifts 100 pixels
- shift+←, →, ↑, or ↓ = layer shifts 10 pixels
- ←, →, ↑, or ↓ = layer shifts 1 pixel
- shift+control+←, →, ↑, or ↓ = layer shifts 1/10th of a pixel
This layer mode also has an inherent rotation about that center that is set by using the following keys:
- + (shift+=) - clockwise 1 degree
- _ (shift+-) - counterclockwise 1 degree
- = - clockwise 10th of a degree
- - - counterclockwise 10th of a degree
- 0 - clockwise 100th of a degree
- 9 - counterclockwise 100th of a degree
- 8 - reset rotation to 0 degrees
|
Use these keys along to change the amount of rotation. These keystrokes must be typed when the layer dialog is active and the layer you want to affect is selected as the current layer.
When processing a stack of astrophotos, for instance, the procedure is to simply set all layers to median mode and then adjust the layer positions and rotation of all but the top layer, which is the layer everything else aligns to in this mode.
Median mode is also useful for creating images of stable objects while getting rid of transient ones. For instance, if you are shooting pictures of a street scene from a tripod, cars and pedestrians and so forth can appear in random places in various shots. If you take enough shots and median stack them, the transient objects will generally disappear with median processing. You'd end up with an image of an empty street.
Unlike shooting astrophotos, where the subjects move and rotate from shot to shot, when shooting multiple shots of stable objects from a tripod, you should not have to align or rotate the resulting images; they should just stack as-is.
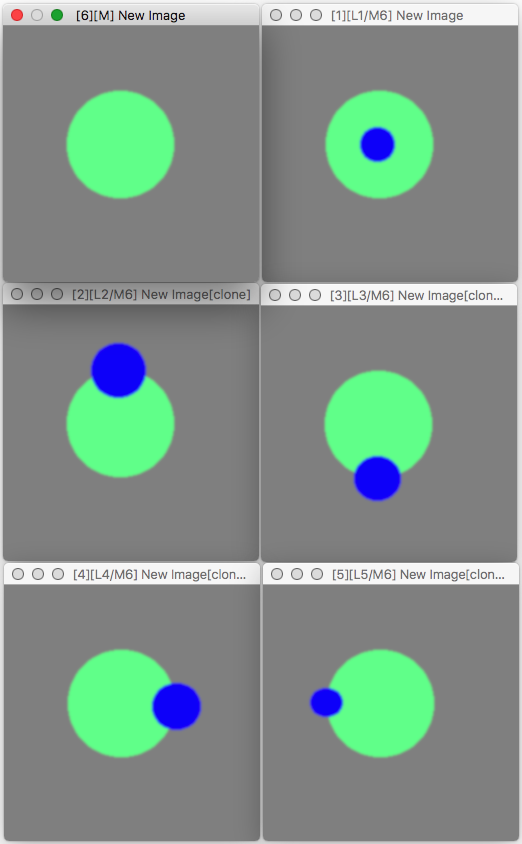
Median blend mode
All of the layers block part of the subject with a blue ellipse
Median resolves the subject despite this
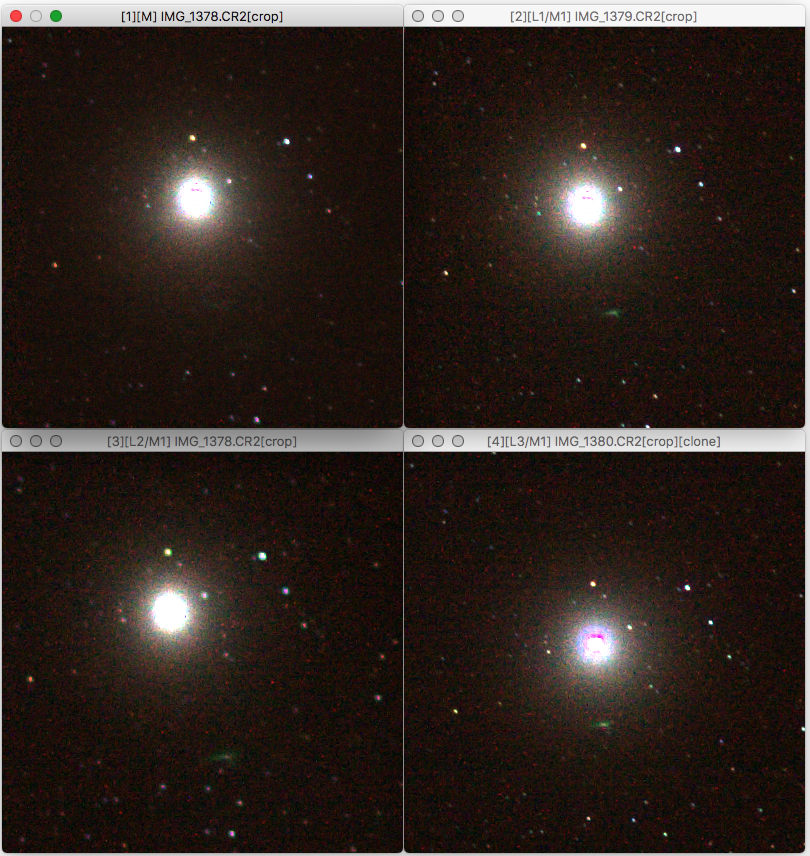
Median blend mode
Three shots of stars in median mode. Note the
level of noise reduction with just 3 layers.
, Previous Page . Next Page
t TOC i Index k Keyboard o Operators g Glossary c Changes
![]()
on February 27th, 2026 at 17:38 MT
| Please consider supporting my iToolBox development efforts with a small PayPal donation. |