| This is a child page. You can use Parent in the quick nav bar at the top or the bottom of the page to navigate directly back to the parent of this page. Some child pages are more than one level deep, and in that case will require more than one Parent click to reach the outermost document level. |
§ 25.5 - Metal Puddles Tutorial
This process can create beautiful mercury-like puddles.
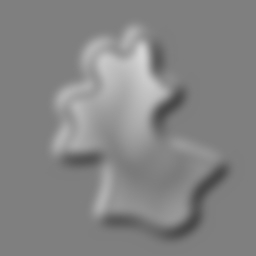
 1 - First, create a white image with a black Color Fill, an organically shaped area. We used the Spline tool with area antialiasing on to make this one. |
 2 - Apply Blur set to 100 to the Entire Image. This creates a broad, soft edge for the Relief tool to see when we apply it a few steps from now. |
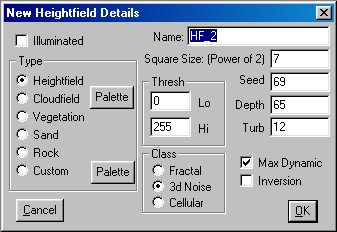 3 - Under the File menu, select New Heightfield. Set the dialog as shown above (the name doesn't matter, but all other settings should match to get the same heightfield we show here), the press OK. |
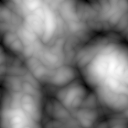 4 - This is the texture that results from the settings in step 3. |
5 - Using Clip and the Rectangle area selection tool, clip out a small portion of the texture. This will be used to texture the reflection on the metal puddle; typically, those reflections are fairly large-scale, so you don't want too complex a texture source. |
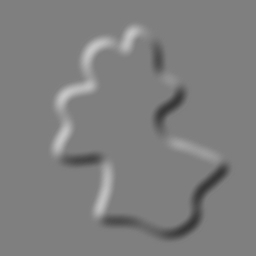 6 - Coming back to the original image now, we want to apply Relief set to -4 using the Entire Image area selection. |
 7 - Here, we've right-clicked on the Color Wand tool and set it to RGB, with an 0, 0, 0 tolerance. Now left click on the Color Wand to select it, left click in the middle of the puddle area, and the Merge tool will create the texture fill in the region as shown here. Make sure that the source image in the Merge operator is set to the image that contains the texture clip. |
 8 - We go back to Blur, and with it still set to 100, we apply it to the entire image again. This effectively blurs both the texture and the seam where the texture meets the edges of the puddle. |
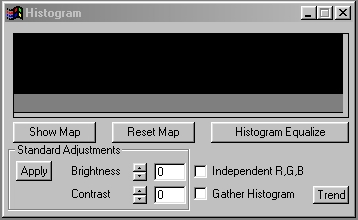 9 - Select the Histogram tool, and set it so that Gather Histogram is off, and independent RGB is also off. |
 10 - Now press the Show Map button, and set the map to something similar to what you see here. Three increasing amplitude curves works well. |
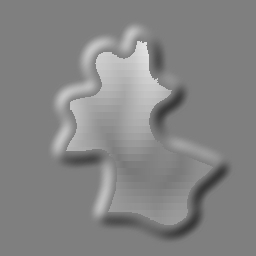
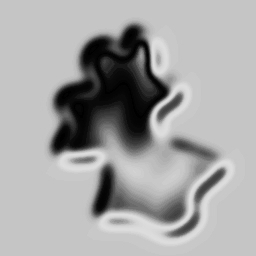 12 - Using the Entire Image tool, apply these settings to the puddle for the results you see here. |
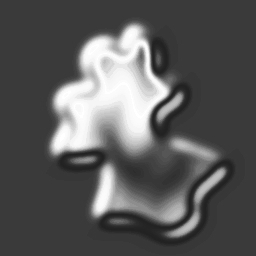 13 - Apply the Negative to the Entire Image for the final result, moving the reflections to intuitively proper locations. |
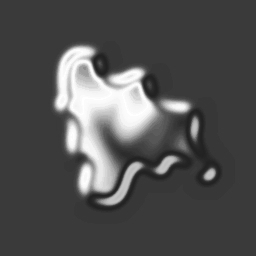
Here's another puddle, created using the exact same steps, but from a different starting shape. We even used the same texture. See it?
Keyboard Navigation
, Previous Page . Next Page t TOC i Index o Operators g Glossary
, Previous Page . Next Page t TOC i Index o Operators g Glossary
Copyright © 1992-2007 Black Belt Systems ALL RIGHTS RESERVED Under the Pan-American Conventions
WinImages F/x Manual Version 7, Revision 6, Level A
![]()
box