| This is a child page. You can use Parent in the quick nav bar at the top or the bottom of the page to navigate directly back to the parent of this page. Some child pages are more than one level deep, and in that case will require more than one Parent click to reach the outermost document level. |
§ 25.4 - Cool Things to do with Font Areas Tutorial
§ 25.4.1 - Metallic Look
Here's a quick trick you can use to create beautiful text. It will work with any font. The resulting quality depends on the font's weight (large, bold fonts work best) and on a blur application that is intense enough to blur the outside edge of the font all the way to the middle of a font stroke.
Blur uses 1/10th of a pixel as its radius, so a font that is about ten pixels thick needs a blur of 50 so that the blur goes 1/2 way "into" the font. The bold 48 point font used in the example below comes out to about 9 pixels wide on a typical stroke, so 50 is a good setting.
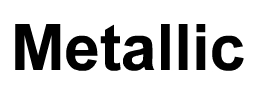 1 - Create some black text on a white backdrop. This is 48-point, bold Ariel with Anitaliasing on. |
 2 - Apply Filter/Blur using Entire Image (with blur set to 50) |
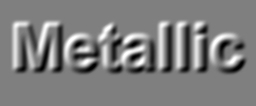 3 - Apply Filter/Relief to the Entire Image (set to -4) |
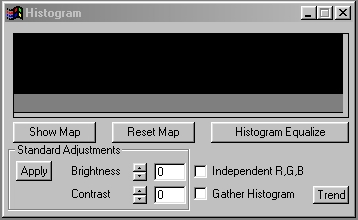 4 - Select Standard/Histogram, turn off the "Independent RGB" and "Gather Histogram" switches, then press "Show Map" |
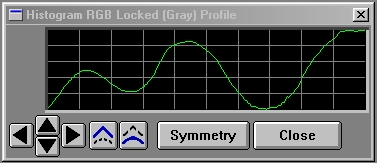 5 - Set the Map to look something like this. |
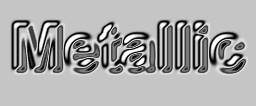 6 - Now apply using Entire Image. Metal! |
§ 25.4.2 - Distort Fonts
When you work with fonts, you can do a lot of things to the basic font shape that will create a unique look for you. Here are some ideas:
 72 Point, Ariel, Bold. |
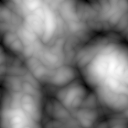 Texture |
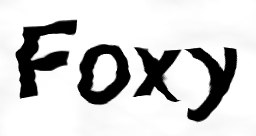 Here we used Geom/Surface Warp to apply the texture using the Entire Image area selection tool. |
 Here we used Geom/Dome to make the font bulge out using the Ellipse area selection tool. |
See Also: Glass Tutorials (there's a glass font example there)
, Previous Page . Next Page t TOC i Index o Operators g Glossary
Copyright © 1992-2007 Black Belt Systems ALL RIGHTS RESERVED Under the Pan-American Conventions
WinImages F/x Manual Version 7, Revision 6, Level A