§ 28 - Custom Tool Icon Settings Dialog
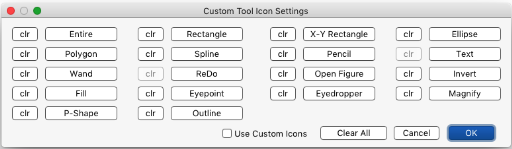
To set a custom icon, click the button associated with the area tool icon you want to change and select a 24x24 .png image. Areas in the .png image without colored pixels should be transparent, or in other words, those pixels should have an alpha channel value of zero.
The image is tested for size and compatibility, and if it is acceptable, it will replace the existing icon for that tool.
At this point, the associated clr button will become enabled; this allows you to remove the custom icon. You can also remove all the custom icons at once with Clear All
To restore the original area toolbox icons, un-check ✓ Use Custom Icons, and click OK
The ✓ Use Custom Icons checkbox must be checked for iToolBox to load the custom icon files into the area toolbox itself. If this is set to ✓ Use Custom Icons, then on iToolBox startup or when you select a new .png custom icon image, no custom icons are loaded.
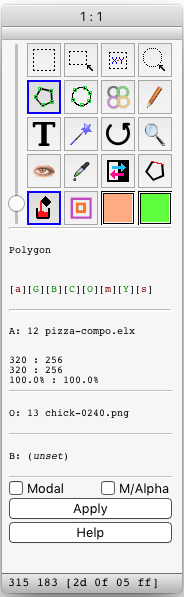
I've created an archive with the custom icons shown at the right, if you'd like to use some or all of them. You can download them here. The archive contains a folder, inside of which are the .png files. Move the folder somewhere convenient, and use this dialog to choose the ones you want. They'll show up as soon as you close the dialog with OK.
If you create your own icons and you'd like to share them, please send me an email using fyngyrz@gmail.com.
, Previous Page . Next Page
t TOC i Index k Keyboard o Operators g Glossary c Changes
![]()
on February 27th, 2026 at 17:38 MT
| Please consider supporting my iToolBox development efforts with a small PayPal donation. |