| This is a child page. You can use Parent in the quick nav bar at the top or the bottom of the page to navigate directly back to the parent of this page. Some child pages are more than one level deep, and in that case will require more than one Parent click to reach the outermost document level. |
§ 16.19 - Roll
| Quick Reference to Scripting Command |
| a=ROLL(x, y, WARPSCROLL) |
| Items in CAPS are 0/1 or ranges with more options than just 0/1. Ranges other than 0/1 are indicated by brackets, such as [0-2]. |

This operator may be applied directly to a Warp Layer, resulting in a geometric effect that may be removed from the underlying sublayer composite by simply zeroing out the warp or disabling that layer. In addition, the effect may be moved over the underlying sublayer composite without limit.
A visual reminder that this operator is warp-compatible is the small green dot at the upper right of its ICON in the toolbar.
The Roll operator can roll an image on its X axis, Y axis, or both axis' at the same time.
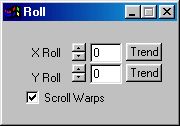
§ 16.19.1 - Roll Controls
§ 16.19.1.1 - Trends
Operator dialog controls that have a Trend button next to them offer animation functionality. Trend allows you to set that variable over a set of frames. Each frame of the animation can be thought of as a slice of time. The trends allow you to alter some, all, or none of the variables for a particular time slice. Variables that have multiple states can be set to any of a number of values in the trend. Variables that are either on or off can only have an on or off value in the trend. You will notice that the trend graphs have equidistantly spaced vertical lines. Each of these lines represents a frame in the animation. The number of frames can be altered using Sequence controls... in the TimeLine pull down menu. Animation lengths of 100 - 999 frames will be represented with a vertical bar being 10 frames, and animation length greater than 1000 frames will have a vertical bar for every 100 frames. Click here to view more information on Trends.
§ 16.19.1.2 - X Roll
Amount in pixels to roll the image.
§ 16.19.1.3 - Y Roll
Amount in pixels to roll the image.
§ 16.19.1.4 - Scroll Warps
When this option is checked, warps are not modified by the roll geometry; instead, the warp information is rolled as if it were RGBA.
§ 16.19.2 - Example use
Roll can facilitate editing certain types images to become useful tiles. You can take an image, roll it 1/2 way on both X and Y, and then edit the edges so that they blend perfectly, this is much more easily done than previously, because the edges are now in the horizontal and vertical center of the image. When you're done with this, you can roll the image back where it was, or simply leave it in the rolled state. The image will tile depending on how well you were able to blend the edges. But it will tile at the same quality no matter if you roll it back, or not. It will change how the tile lays; that is, the edges will appear slightly offset, but in many cases this isn't important to the effect.
Another way to approach the creation of a tile is to:
- Create a blank image
- Work only up to, but not into the edges of the image
- Roll the image 50% horizontally and vertically
- Again, work up to, but not into, the current edges of the image
- Unroll the image (or not, it's up to you.) The tile is done.
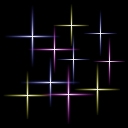 Step 2 |
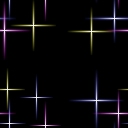 Step 3 |
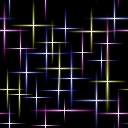 Step 4 |
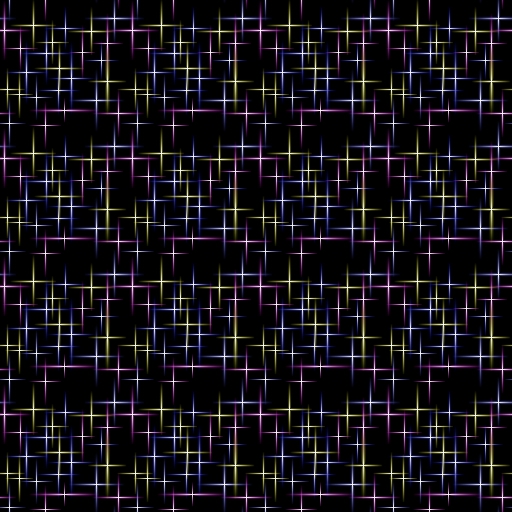
The 512 x 512 tiling of the tile in step 4, above:
, Previous Page . Next Page t TOC i Index o Operators g Glossary
Copyright © 1992-2007 Black Belt Systems ALL RIGHTS RESERVED Under the Pan-American Conventions
WinImages F/x Manual Version 7, Revision 6, Level A
![]()